

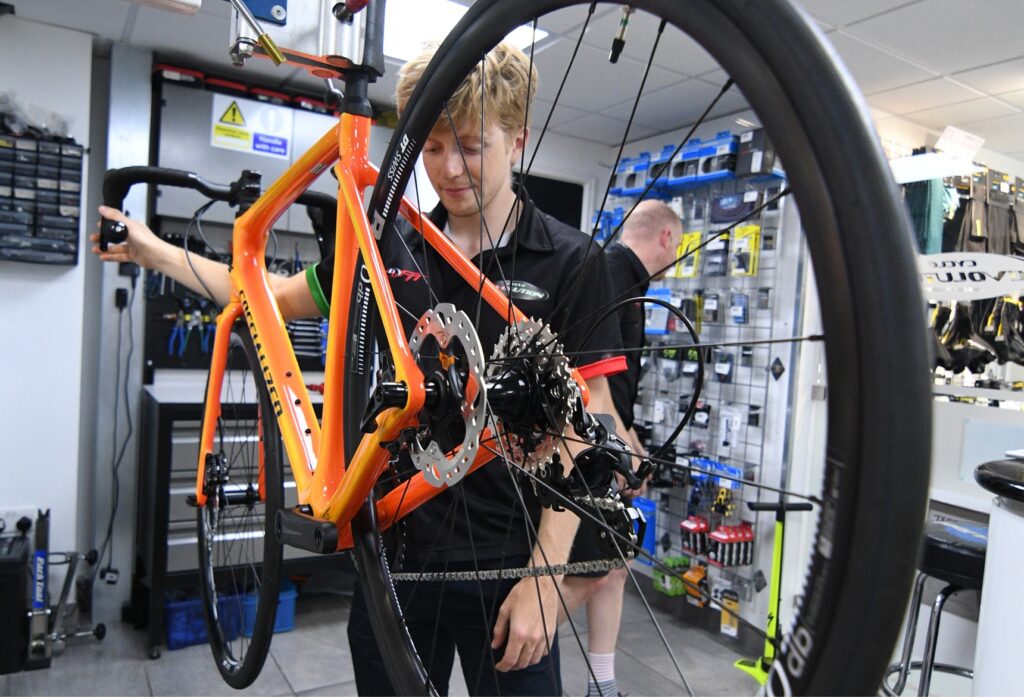
We have all seen these before common bike maintenance mistakes, and the dedicated mechanics see them far too often. Below is a helpful guide, put together by Cycle Revolution, to help you avoid these easy-to-make mistakes and to save our mechanic complete frustration!
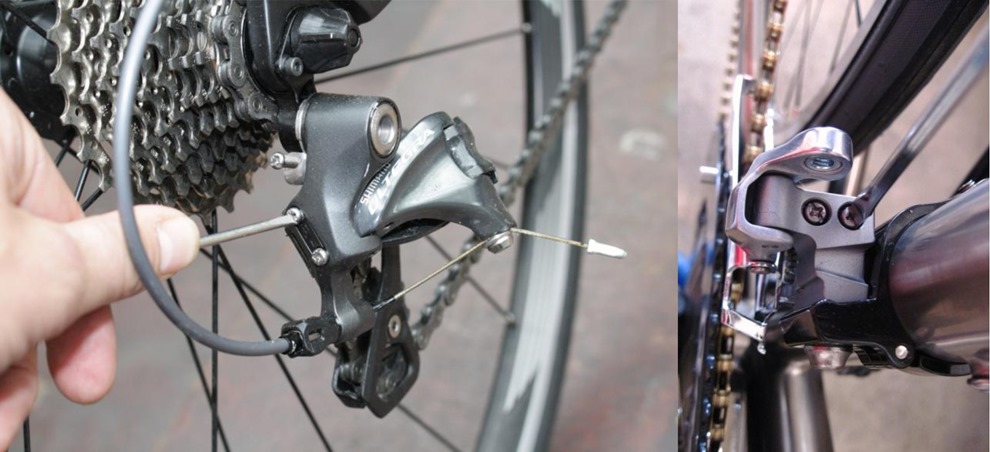
1. Winding in derailleur limit screws:
Those screws in your derailleurs aren’t loose but are actually there to set the limits for which the derailleur can move. If a bike mechanic has built your bike, especially one from our established shops, then you don’t need to touch those screws again.
If your shifting has suddenly gone out of whack, it’s likely to do with cable tension, possibly dirty cables, or a bent derailleur hanger. Never reach for the flathead unless you know what you are doing! One common bike maintenance mistakes to look out for.
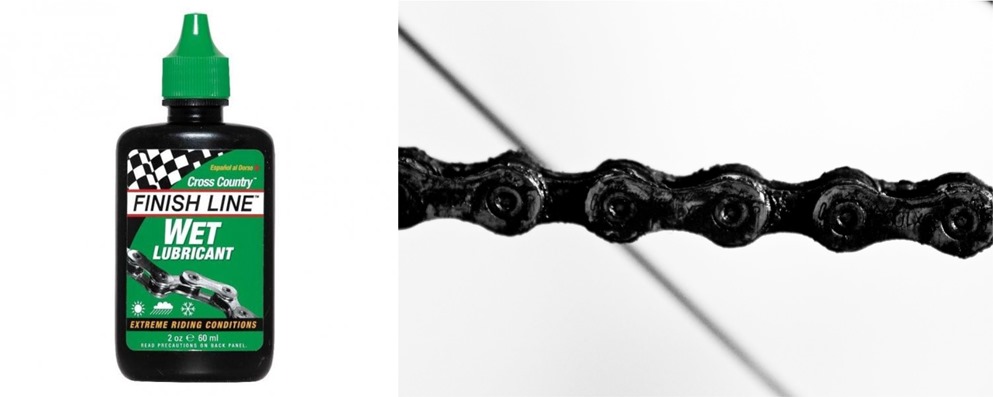
2. Using the wrong lube:
This one comes up in nearly every maintenance article. WD-40 is great for some things, but it’s not up to the task of lubing a bicycle chain. It’s an anti-rust substance, which will actually dry out your chain not lube it.
When it comes to lubricating the chain, any lube left on the outside of the links is just collecting grit. Over time, this will lead to a ‘grinding paste’ forming over your drive-train, meaning your gears will be wearing out A LOT faster and making quite a black mess in the process.
After you lube your chain using, preferably, a pour-on lube that is suitable for the weather conditions (like Finish-Lines Wet Lube), leave it on your chain to settle in, and then wipe off the excess with a rag. Lubing on top of dirty lube is a surefire way to make your bike angry at you, so de-grease first!
It’s good practice to wipe down your chain with a clean rag after almost every ride, to help stop the build-up. Not everyone has time for this, but if you see a residue building, get it gone.
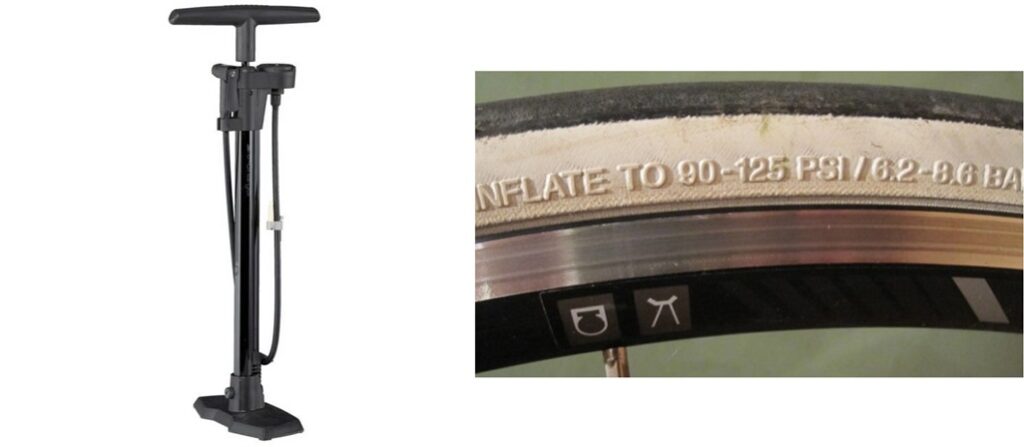
3. Poorly inflated tyres:
Riding with underinflated tyres is another easy mistake to make. Here, a good track pump is what you need.
For minimum and maximum pressures, consult the sidewall of your tyre (in PSI) and find a happy medium, this is down to personal preference. You need to make sure that they are always above the minimum pressure, however, or you are a lot more likely to get punctures.
With any tyre that requires high pressure, make sure you pump them up regularly. Road bikes should be checked every ride as 100PSI is a lot for a rubber inner-tube to keep in. The ‘feel test’ is never suitable, because your tyres might feel hard enough, but they are probably at half pressure.
Another common mistake is in the use of Presta valves (the non-car type ones). These can be quite delicate and it’s important to not put too much twisting force on them. Before fitting the pump head, ensure the nut is unwound to the top of its threaded shaft, then slightly depress the valve until you hear air escape.
Connect the pump as square to the valve as possible and once pumped, remove the pump head in an equally straight line. This is where using a hand pump, especially on a road bike tube, can be a complete nightmare. We highly recommend CO2 canisters and adapters instead. When you then re-tighten the little nut, making it finger tight is all that’s needed — anything more and you may damage its seal. If your shifting has suddenly gone out of whack, it’s likely to do with cable tension, possibly dirty cables, or a bent derailleur hanger. Never reach for the flathead unless you know what you are doing! Another common bike maintenance mistakes to look out for.
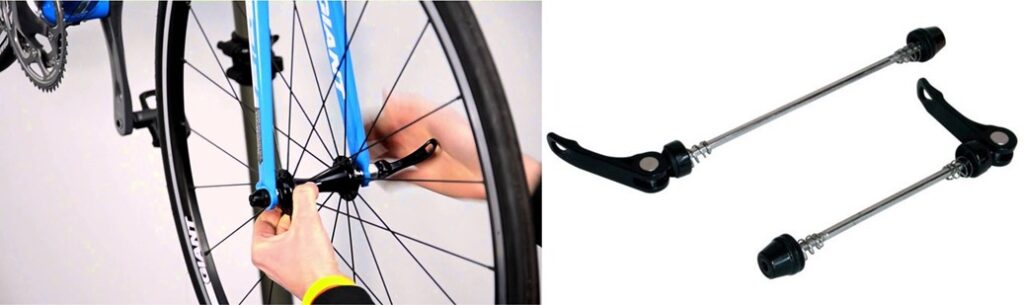
4. Not properly closing quick releases:
Put simply, quick releases have an open and a closed position. Before riding the bike, you need a quick release in the closed position. After tightening the opposing nut, the quick release lever should be locked into position. This needs to be done away from the frame (please not against it!) and needs to start to get tight in firmness around halfway through its travel. This should leave a slight imprint in the palm of your hand once the QR is fully closed. Double-check its tightness by lightly trying to open it, and if it doesn’t budge your good to go!
There is also no need to over-tighten QR’s as this can change your bearing compression and even damage your bearings. The QR’s will never come undone once they have been closed in the proper manner. No need for brute force!
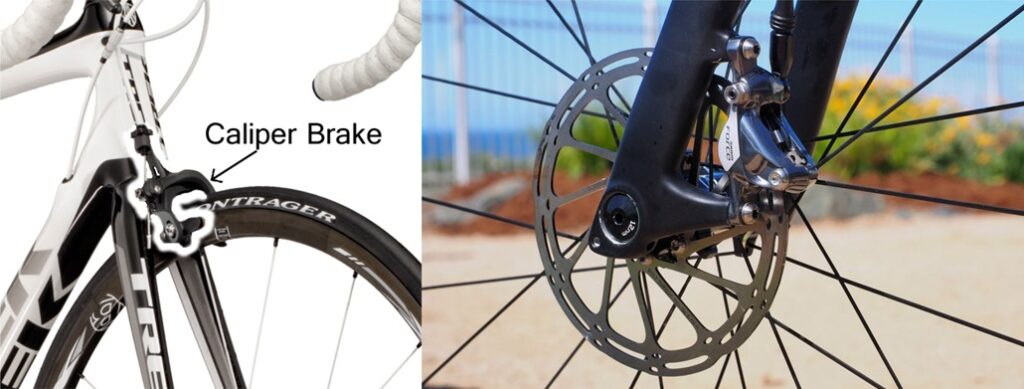
5. Lubing brakes to fix a squeal:
If your brakes are squealing, don’t think that grease or oil is the answer, it’s not. Lube and brakes don’t mix.
If you’re using rim brakes (caliper or V-brakes), then it’s likely to do with how the brake pads are set up. You may need to set up your brake pads with toe-in to avoid the dreaded squeal. If your pads are old and have dried out, this may also be a cause, so seek newer pads.
For disc users, some brakes just squeal, although sometimes this is the sign of a perfectly biting brake! You can also have wet discs, which can cause noise, however, this should stop within a few solid braking efforts.
Most of the time though, noise is a sign that the pads have been contaminated. Cleaning the rotors and replacing the pads is the only way to fix this and should provide some respite to nearby pedestrians.
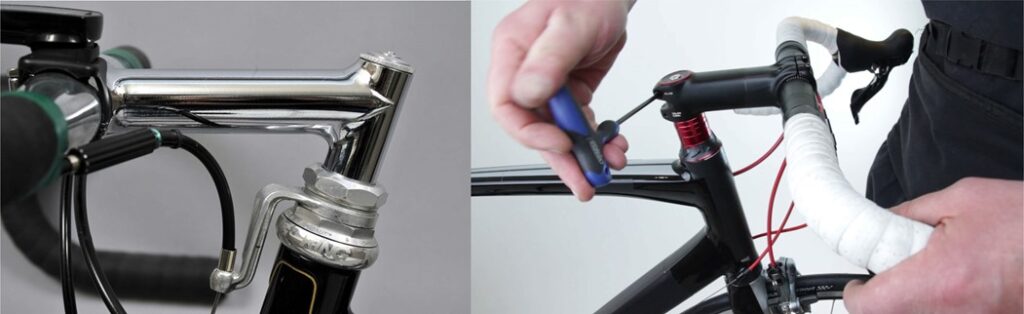
6. Over tightening the headset:
Modern 1 1/8 threadless headset systems work by preloading the bearings with the cap on top and then torquing the stem in place with its pinch bolts.
Commonly, it’s thought the top preload bolt needs to be really tight, often resulting in damaging the headset. Remember, you only need this top bolt tight enough to remove any headset bearing play (usually between 4-6NM). If it’s causing resistance in your steering it’s likely too tight. You should then tighten the two pinch bolts equally, up to about 6-10NM. It should say on the stem itself the exact figures and beware of carbon steerers. You don’t want to be overtightening them!
The exception to this is with older quill stems (distinguishable by a single bolt on top, with no pinch bolts at the stem’s side).
This design uses a bolt attached to a sliding wedge that when tightened locks the stem within the steerer tube. For this type of stem, torque is your friend. And once you think you’ve got it tight enough, but the front wheel between your knees and see if you can twist the bars.
In the words of our service manager: ‘If you look after your bike, your bike will look after you’ and these simple tips can help you do just that. These could save you an absolute pain in the long run, and also help our mechanics keep their heads. If you are worried about any of the above, please do not hesitate to contact us for some advice; we are more than happy to help!